Create an Azure Synapse Pipeline to Convert the CSV File to a Parquet File
Now let us create a Synapse pipeline to convert the health data CSV in the raw container to a parquet file, and then store it in the processed container in the data lake. Go to the Azure portal and click on Create a resource as in Figure 3-16.
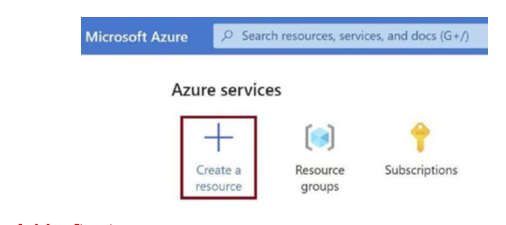
Figure 3-16. Create a resource
You will get redirected to the Marketplace. Click on the Analytics tab and then click on Azure Synapse Analytics, as in Figure 3-17.
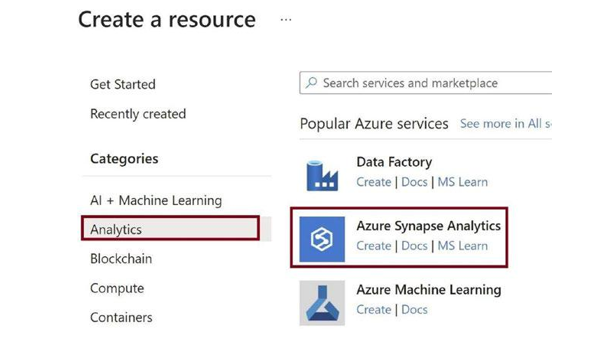
Figure 3-17. Go to the Analytics tab
Provide the basic details for the Synapse pipeline and the workspace, as in Figure 3-18.
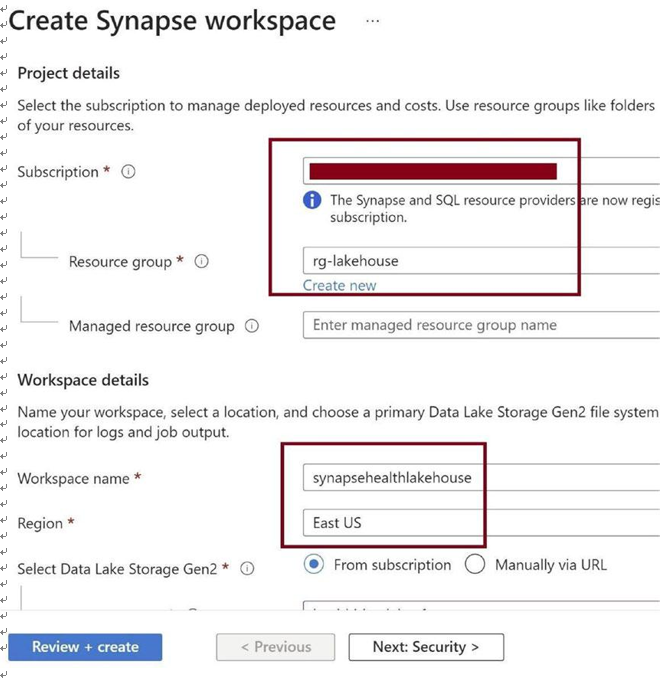
Figure 3-18. Provide basic details
Scroll down and create a Gen2 container, as in Figure 3-19, in the same data lake and on the storage account that we created earlier.
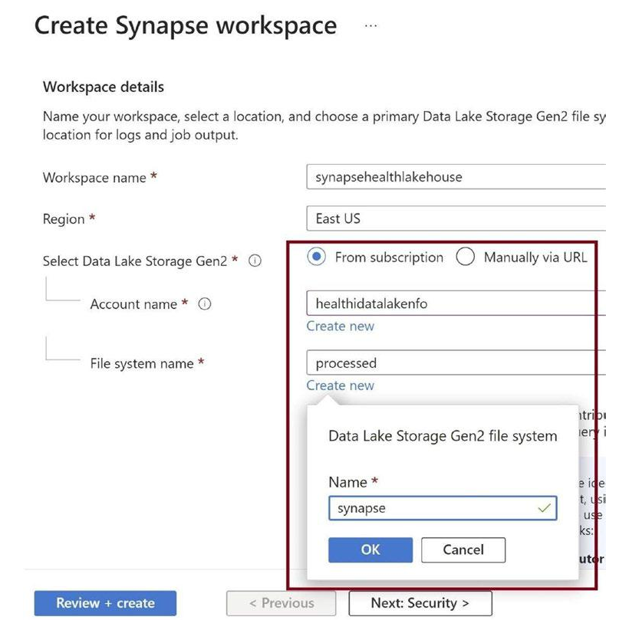
Figure 3-19. Provide data lake details
Click on Review + create as in Figure 3-20 to spin up Azure Synapse Analytics, where we can create the Synapse pipeline and the lake house database.
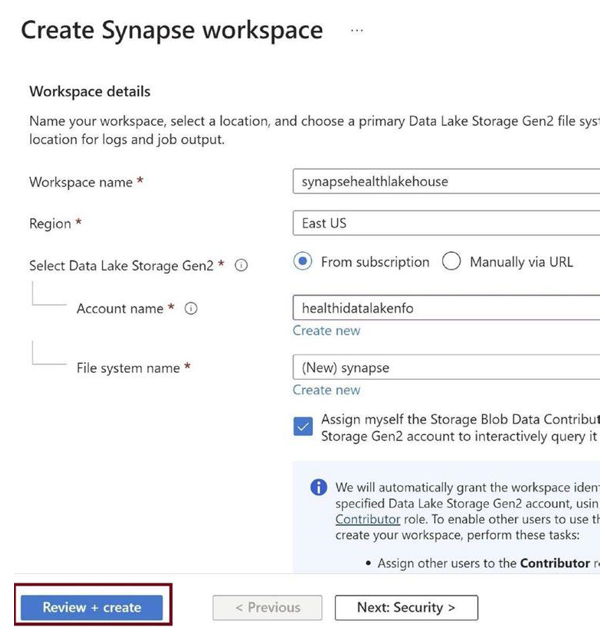
Figure 3-20. Review + create
Click on Create, as in Figure 3-21. This will spin up an Azure Synapse Analytics resource for you.

Figure 3-21. Click on Create
Once Synapse Analytics gets created, go to the Overview tab of Synapse Analytics and click on Open, as in Figure 3-22. We need to open the studio in Synapse Analytics to create pipelines and a lake database.

Figure 3-22. Open Synapse Studio
Once the Synapse Analytics studio opens, click on the Integrate tab, as in Figure 3-23.
We will create the Synapse pipeline here that will convert the CSV file into a parquet file.
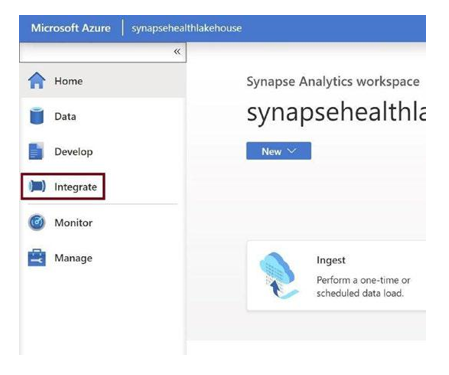
Figure 3-23. Integrate tab
Click on + and then on Pipeline in the context menu, as in Figure 3-24. This will create a new pipeline.
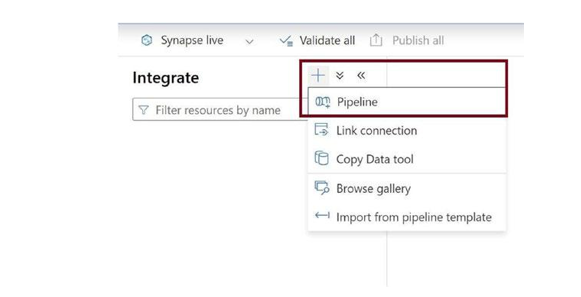
Figure 3-24. Create new pipeline
Search for the Copy Data activity and add it to the canvas, as in Figure 3-25. The copy activity will help us copy the CSV file from the raw folder, convert it to parquet, and put the parquet file back in the processed folder in the data lake.
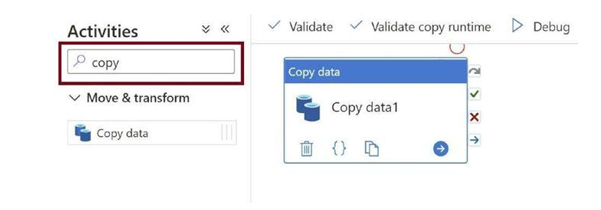
Figure 3-25. Add Copy Data activity
Provide a name for the pipeline, as in Figure 3-26. This will help you identify and maintain the pipeline.
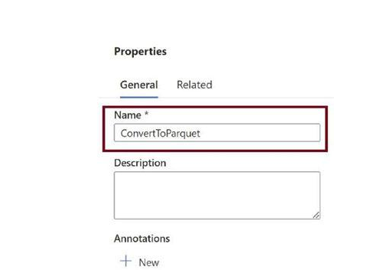
Figure 3-26. Provide pipeline name
Click on the Copy Data activity and click on Source. We need to add the source dataset pointing to the CSV file in the raw folder. Click on New, as in Figure 3-27.

Figure 3-27. Configure source
Search for Azure Data Lake Storage Gen2 and select it. Click on Continue as in Figure 3-28. We now have our source CSV in the Azure Data Lake Gen2 that is built on top of the storage blob.

Figure 3-28. Select source storage


