Attach the Parquet File to the Lake Database
Once the Synapse pipeline executes successfully, the parquet file gets generated in the processed folder. Now we need to create a lake database in Synapse and attach the parquet file. In the Synapse studio, go to the Data tab, as in Figure 3-44.
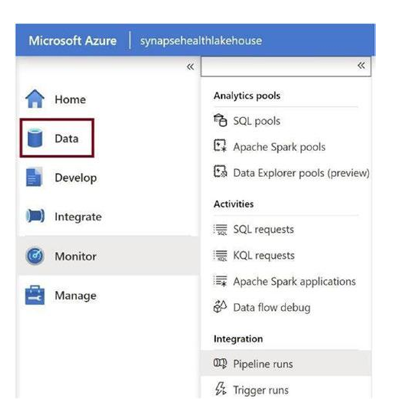
Figure 3-44. Go to the Data tab
Click on + as in Figure 3-45, and then click on Lake database. This will help us create a lake house on Synapse.
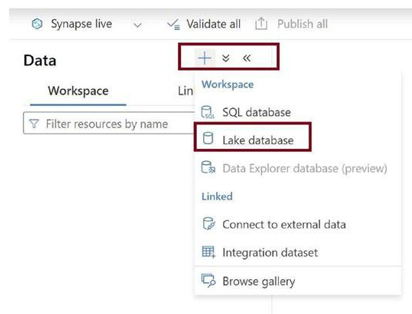
Figure 3-45. Create lake database
Provide the name of the lake database and all necessary details, like linked service, as in Figure 3-46.
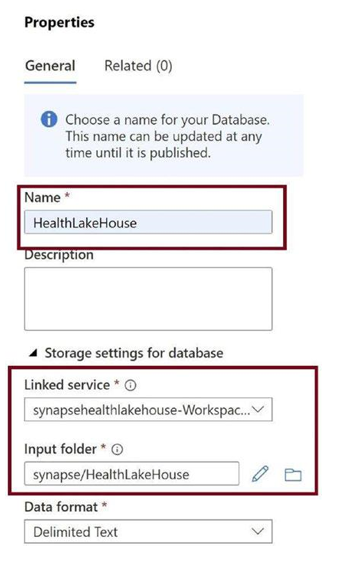
Figure 3-46. Provide lake database details
Click on Table and select the option From data lake, as in Figure 3-47. We need to select the parquet file in the processed folder in the data lake.
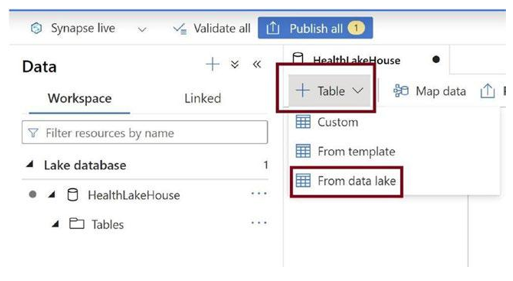
Figure 3-47. Select from the data lake
Provide the name of the table, parquet file location, and the linked service, as in Figure 3-48. Make sure you select the same linked service as the one for the lake database. Click on Continue.
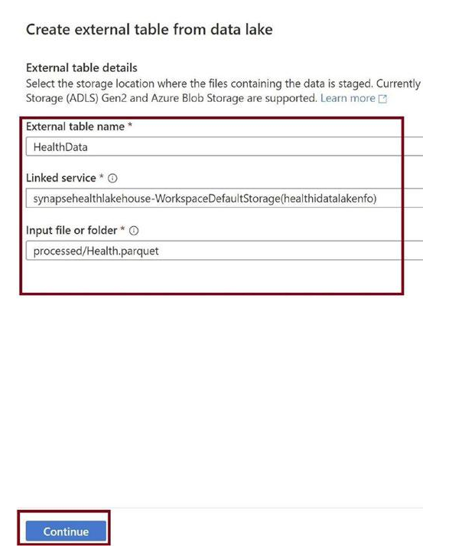
Figure 3-48. Click on Continue
The table gets created, as in Figure 3-49. You can see the details of the columns.
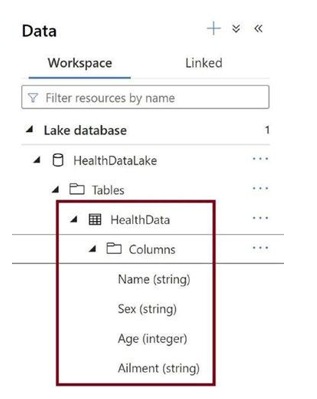
Figure 3-49. The table gets created in the lake database
Publish all the changes, as in Figure 3-50. If you do not publish, then the lake database will get deleted when you leave the portal.
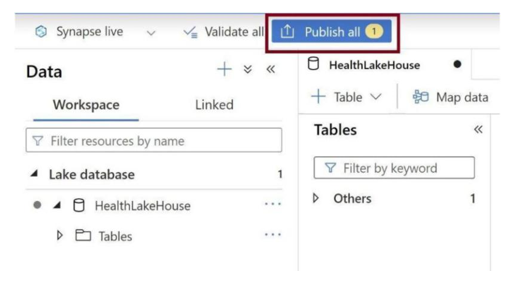
Figure 3-50. Publish all changes
Once the table is published, you can right-click on Health Data and then select New SQL script, as in Figure 3-51.
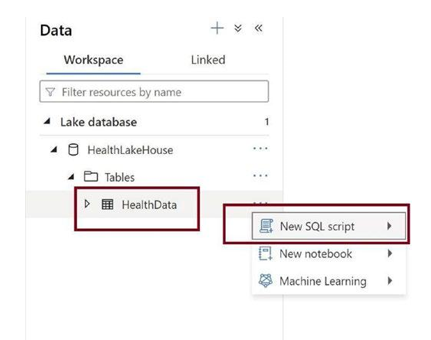
Figure 3-51. New SQL script
You can query the database, as in Figure 3-52.
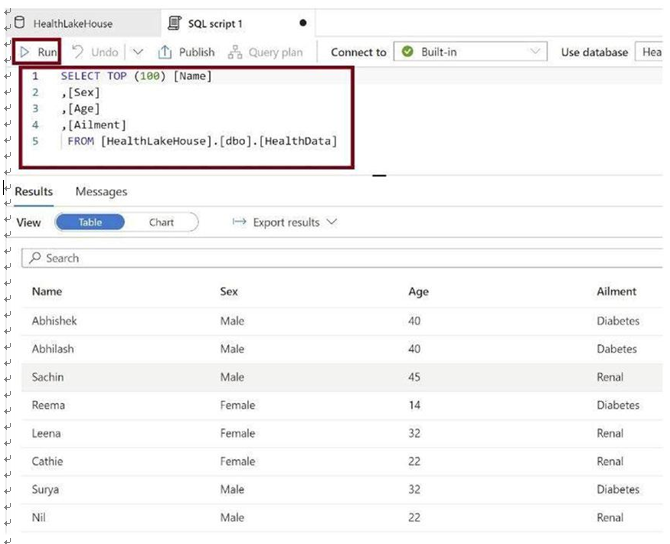
Figure 3-52. Query lake database using SQL query


